Plateless kit for F2-84
If you purchased the plate-less add-on kit, this page will show you how to install it.
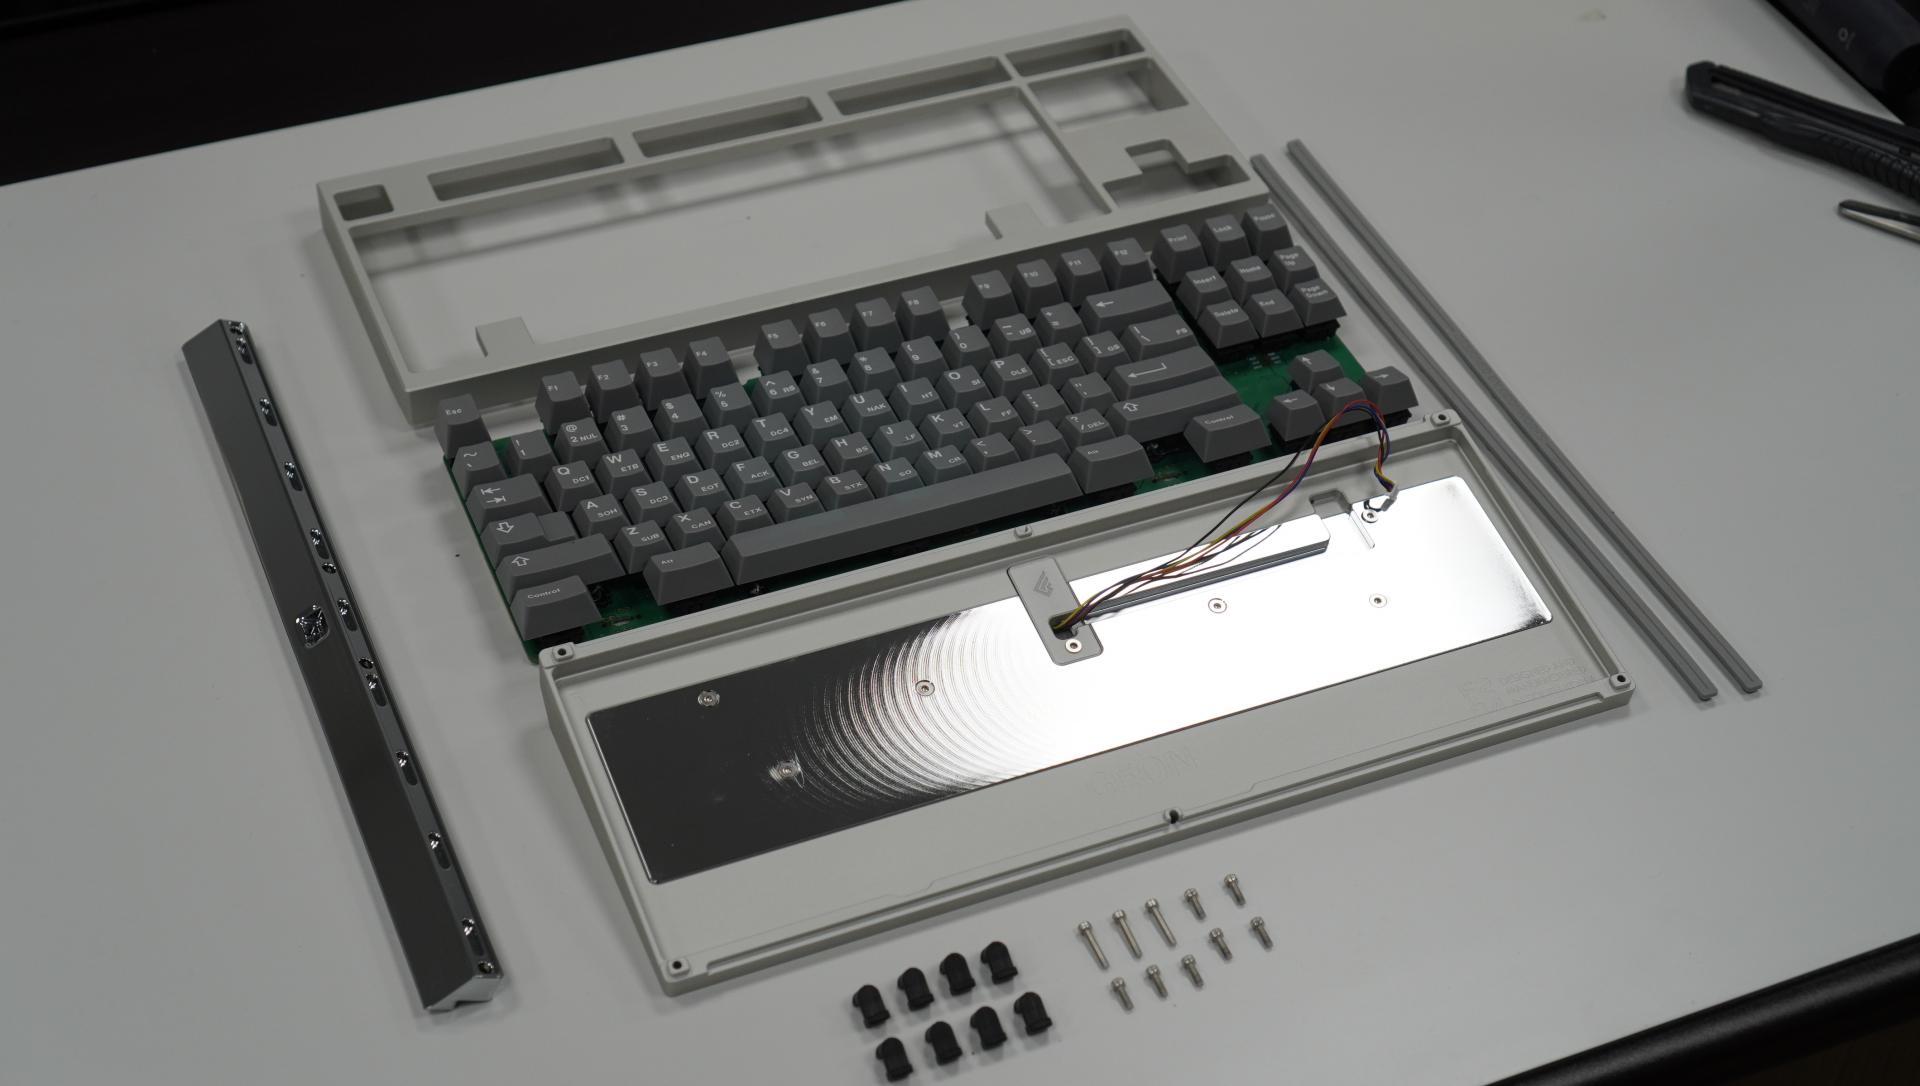
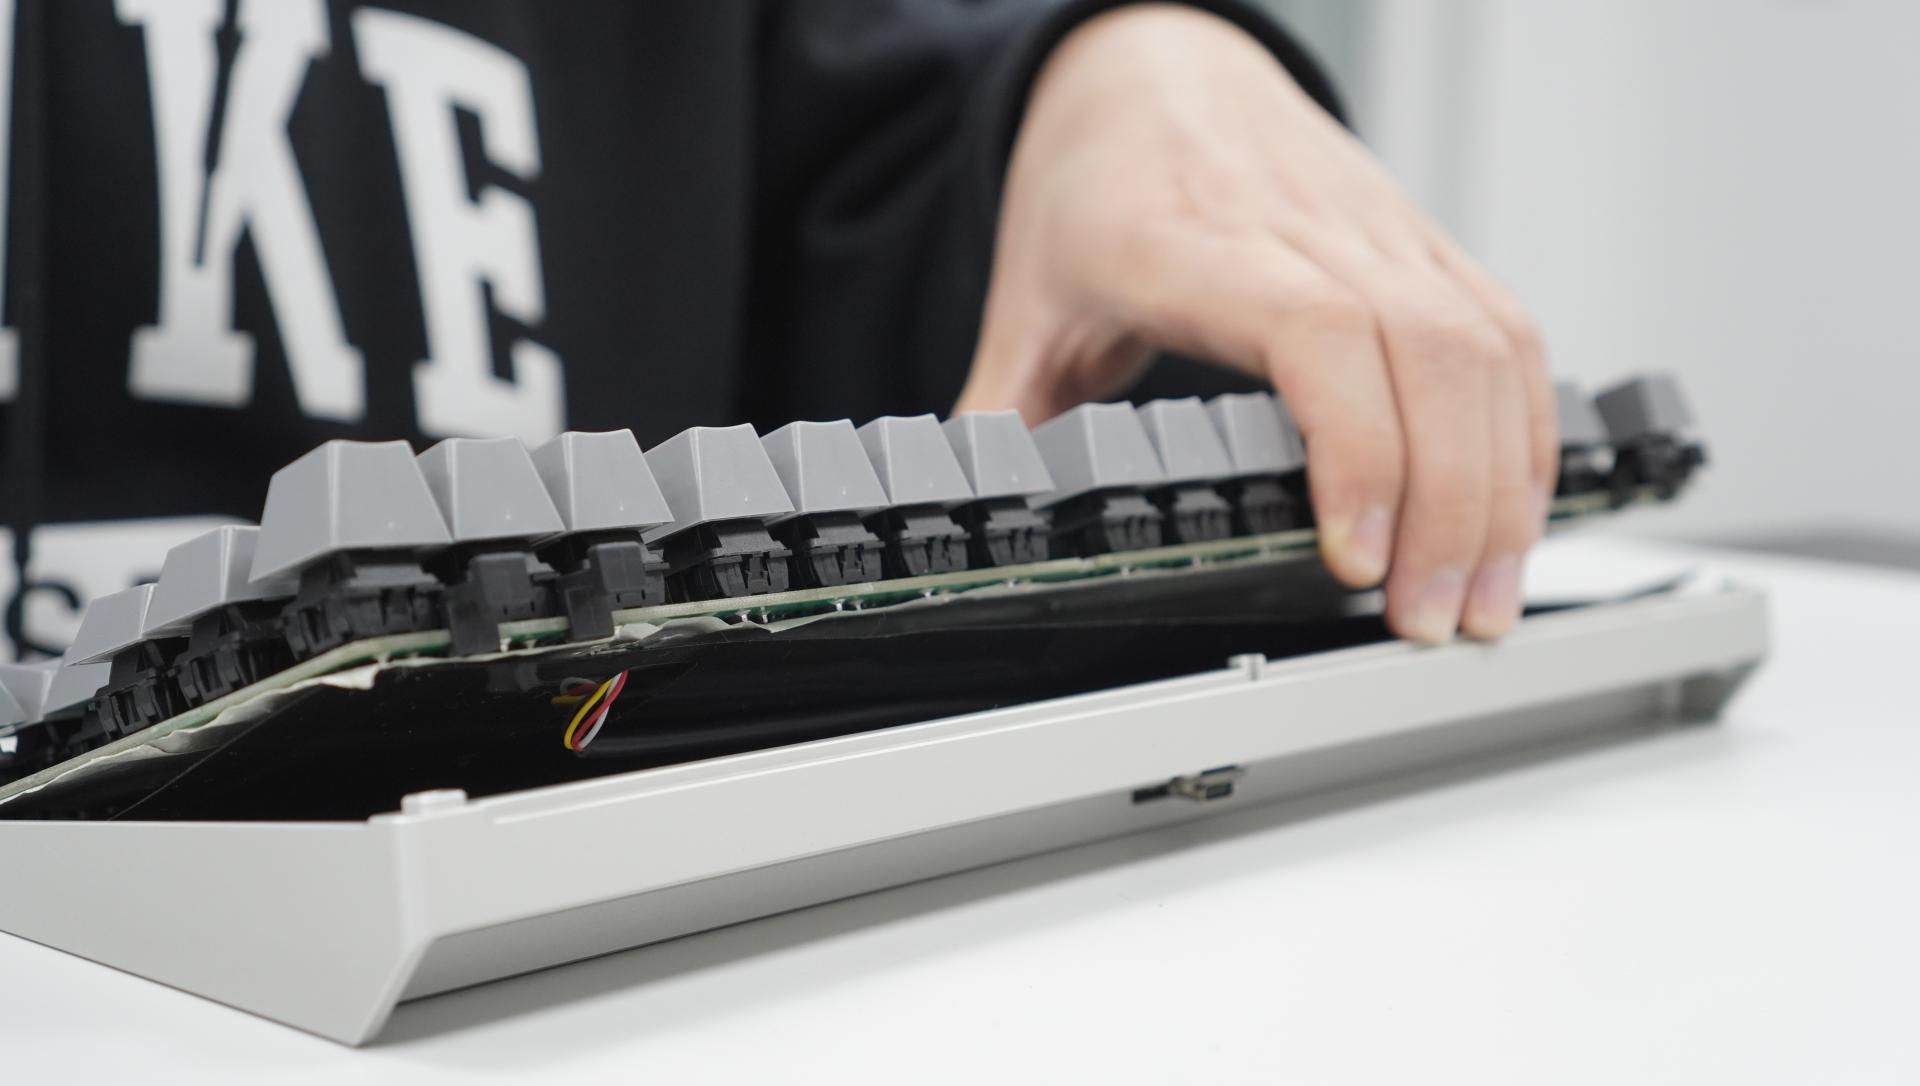
After installing most of your parts and having finished soldering your switches onto your PCB, your desk should look something like the image above.
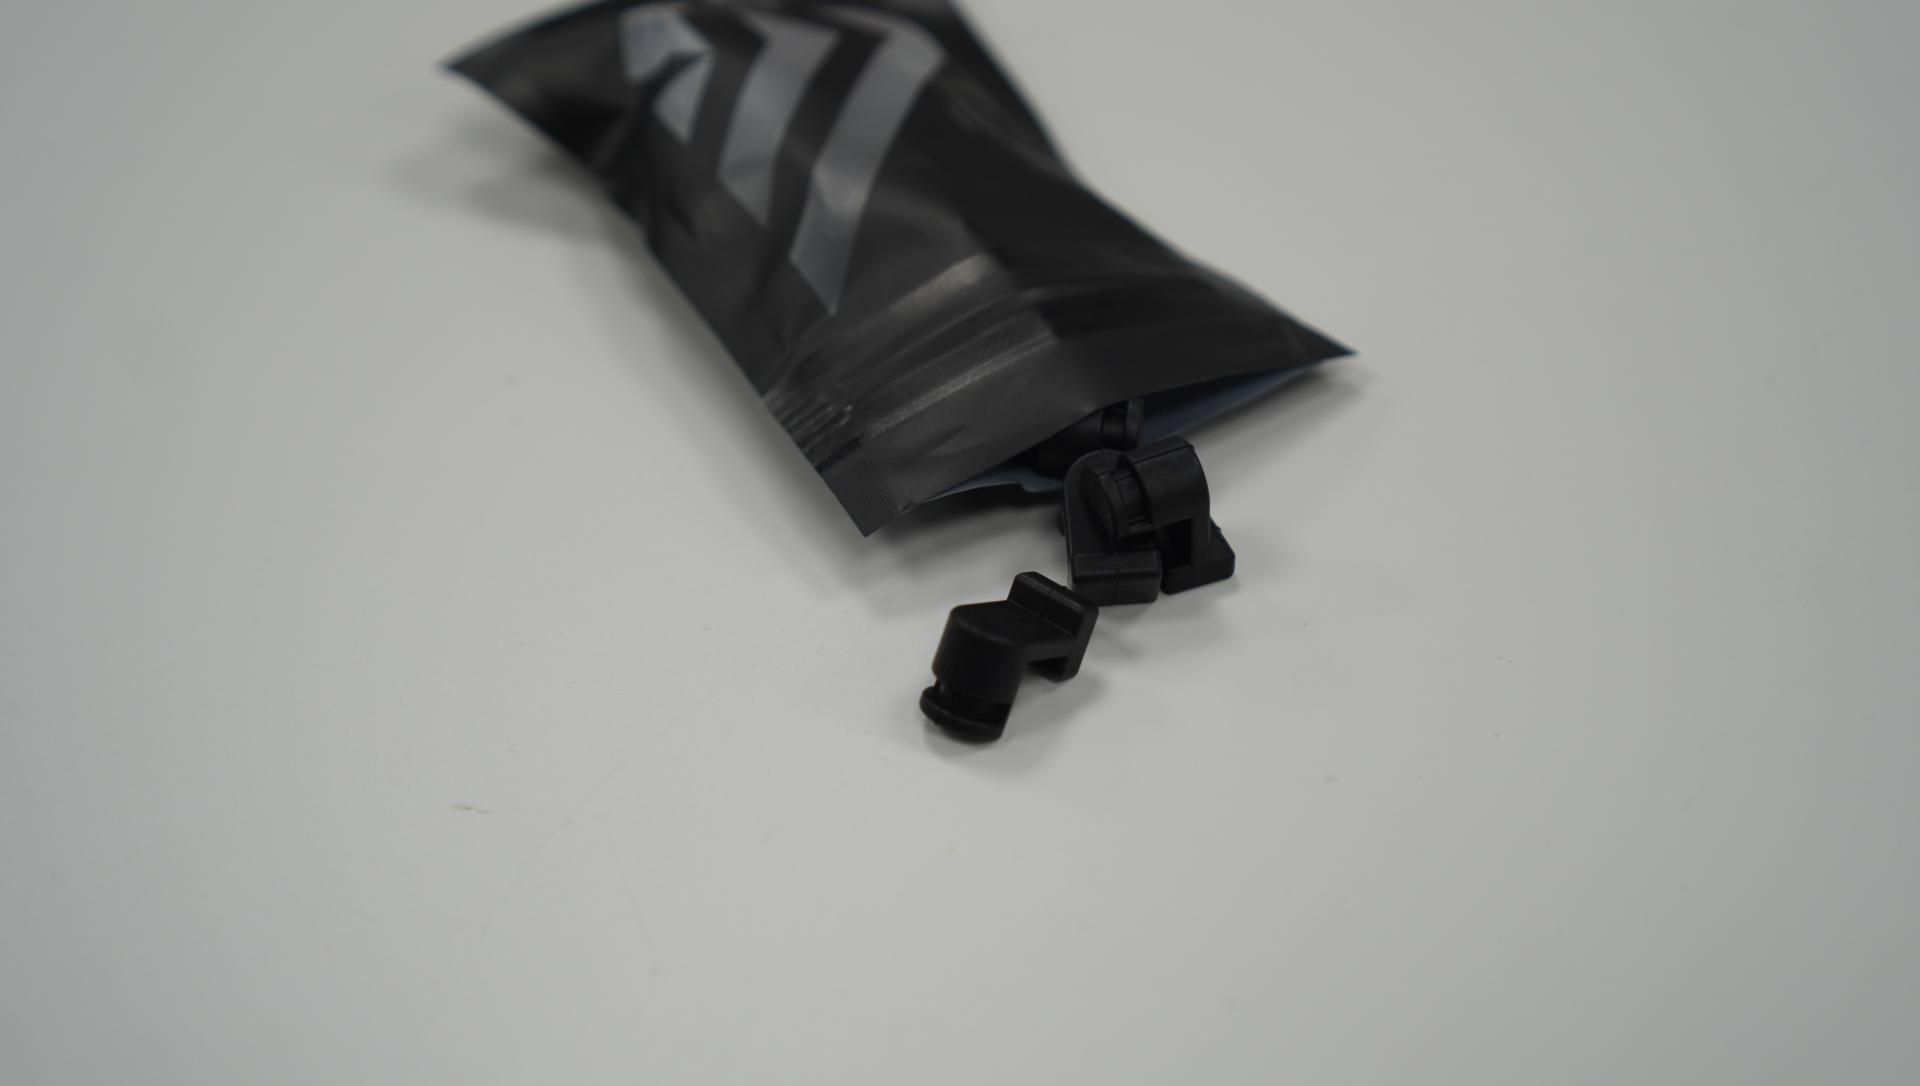
Unlike the F1-8x plate-less kit, the F2-84 plate-less kit is a plastic, friction fit based kit so no screws will be required for the installation
(The picture shown above is presented with a prototype PCB, hence the green color. The units shipped to you will be in black.)
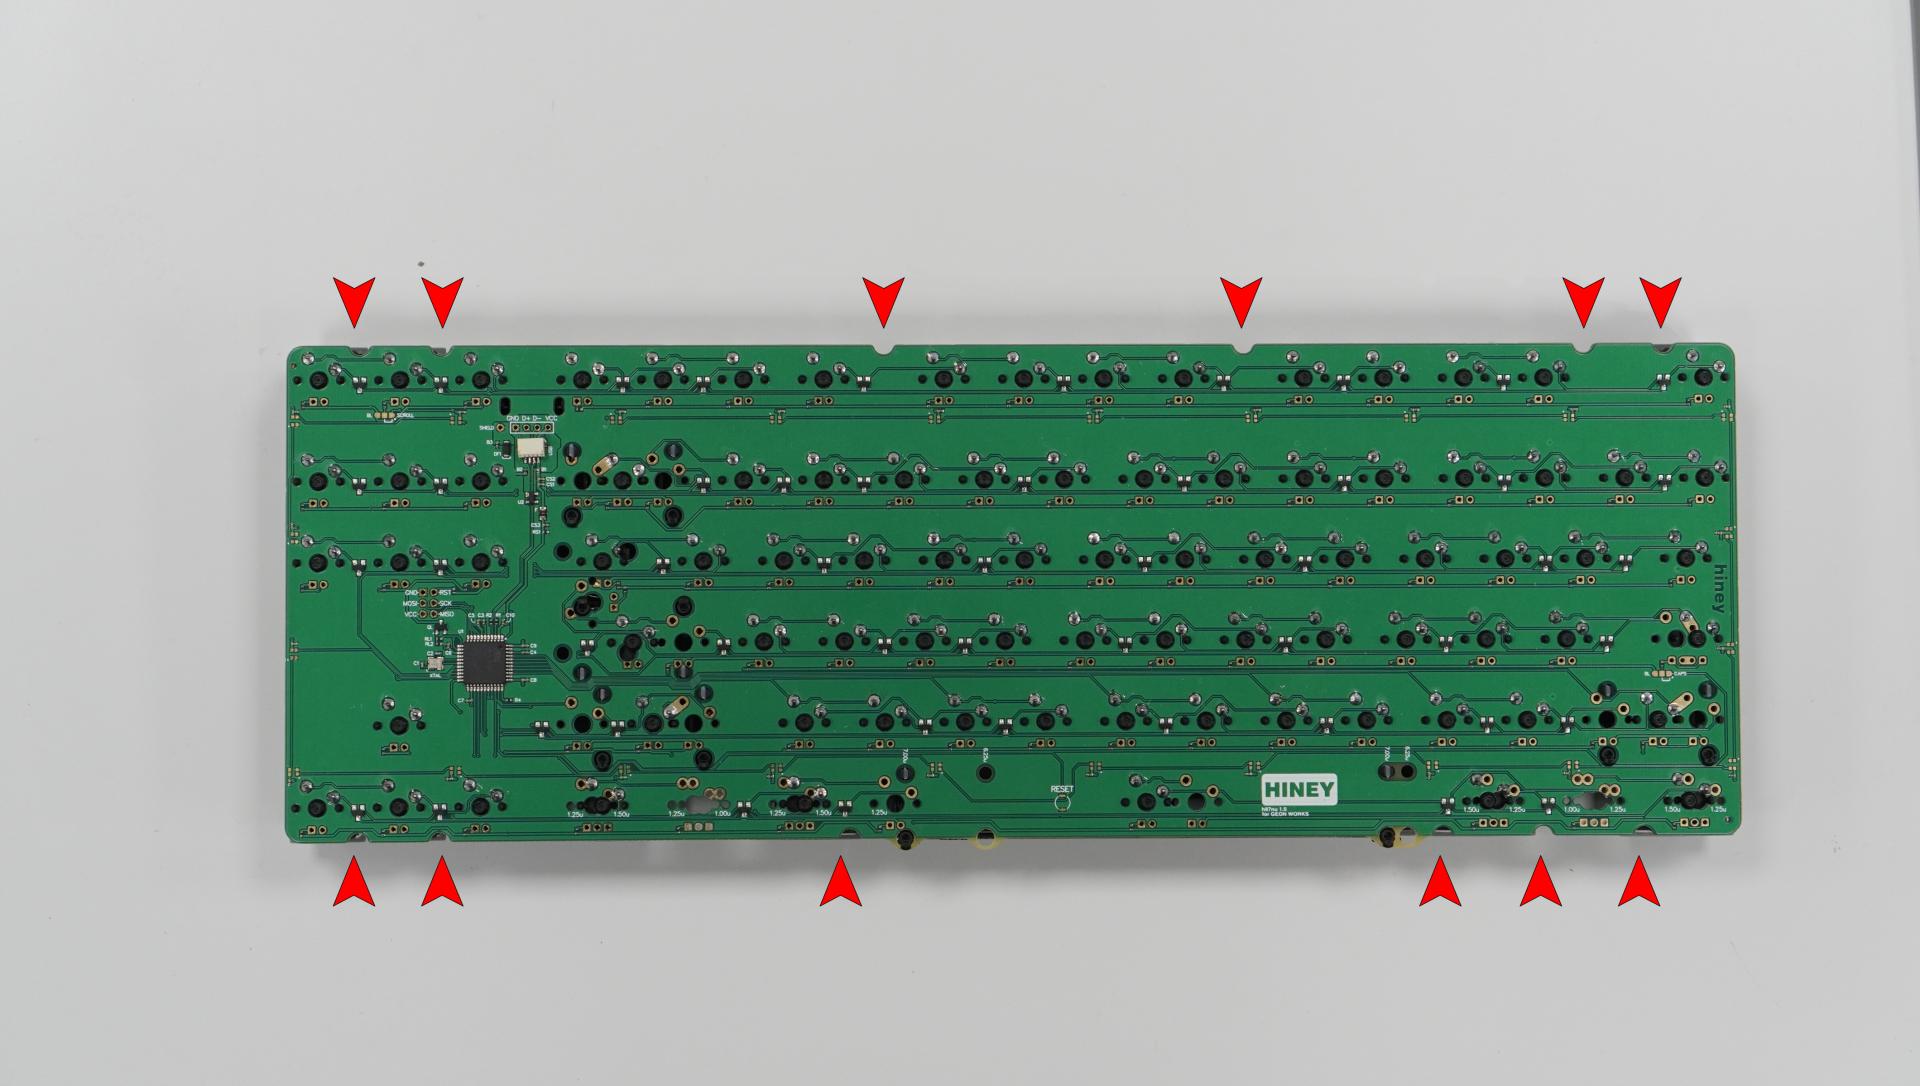
The red arrows highlight the divots on the PCB where you can place the plastic plate-less kits and you do not need to fit all your kits on your PCB.
We suggest fitting around 8 kits on the PCB. (e.g. left picture shows you only need four of the kits to make it work.)

NOTE: Remember to place your anti-static sheet that we provided and connect your JST connector to your PCB before you proceed with installing your PCB down to the case
When you're done placing the kits on the PCB, start from the bottom portion of the PCB then slowly push the PCB down to the case. If the PCB is not settling down to the bottom case, insert the plate-less kit a bit more for it it is highly likely not fitting because the plate-less kit is slowly being removed from the PCB.
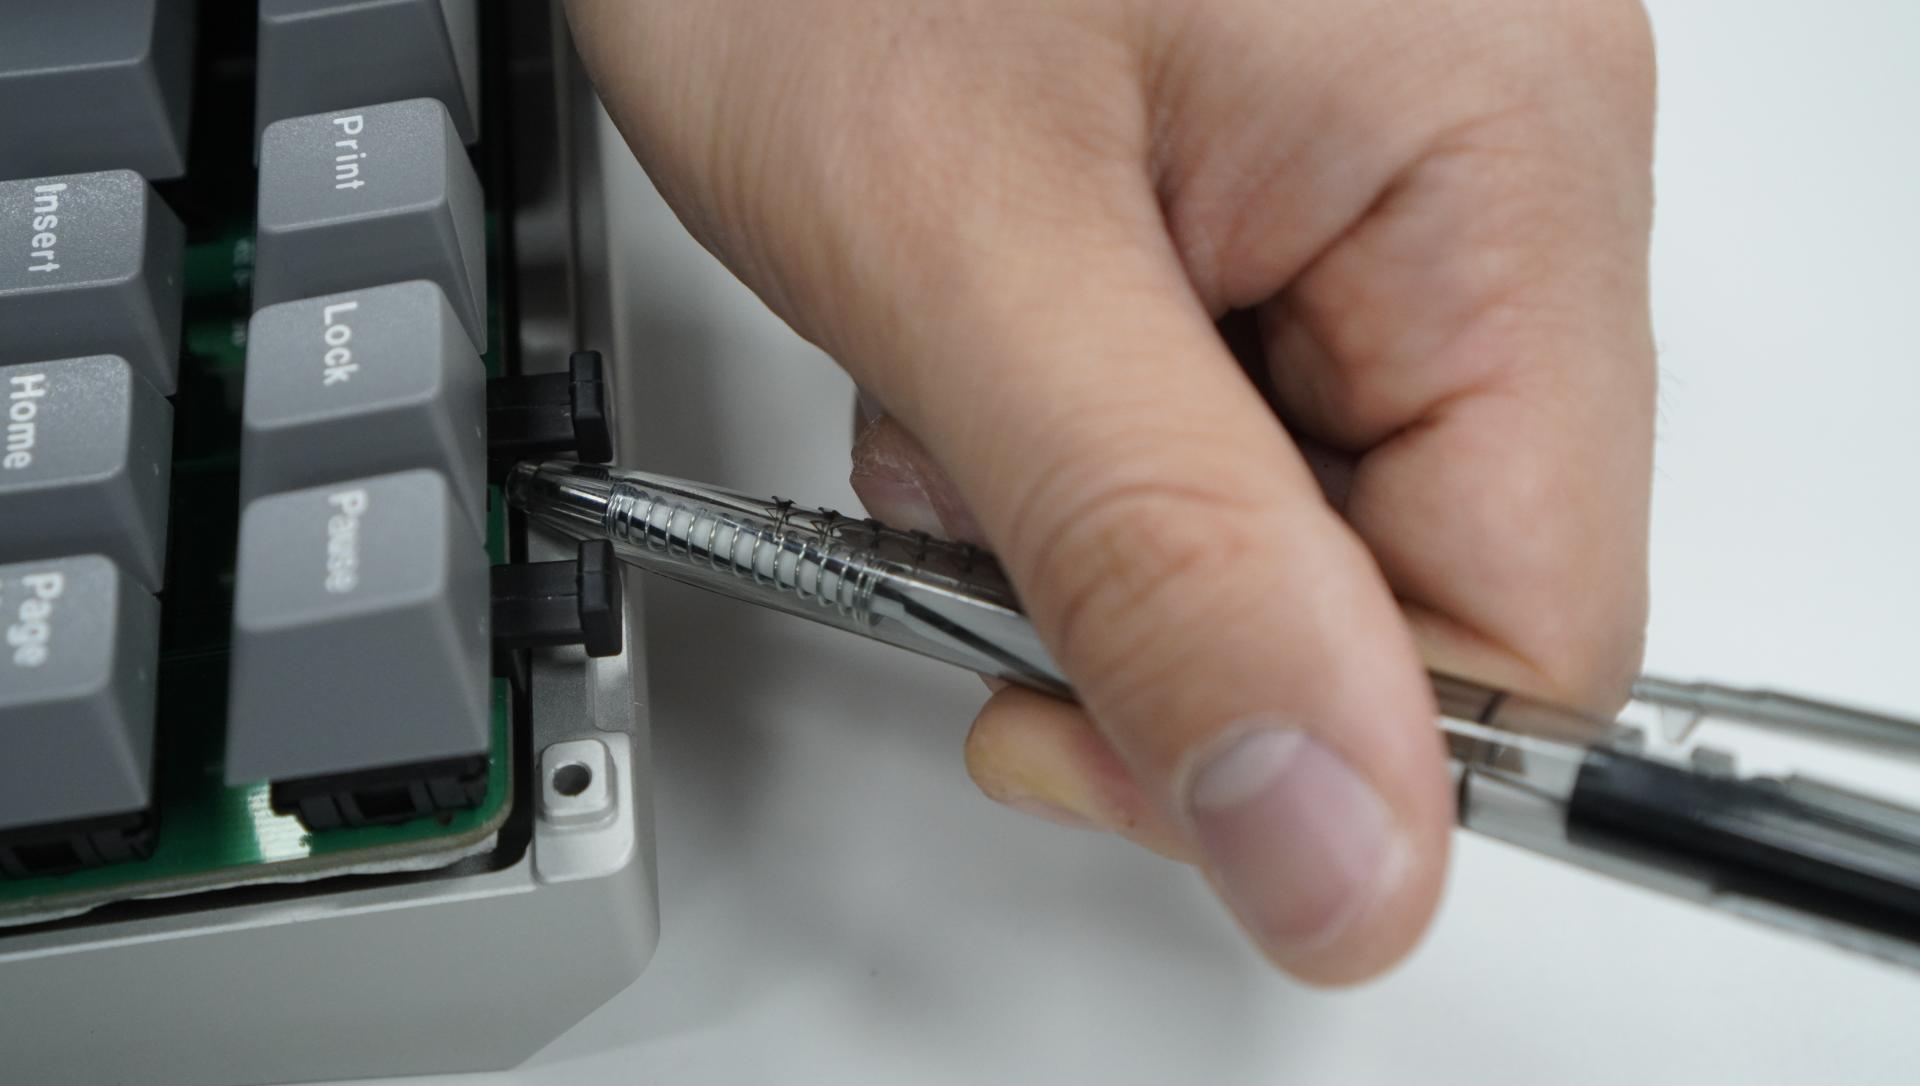
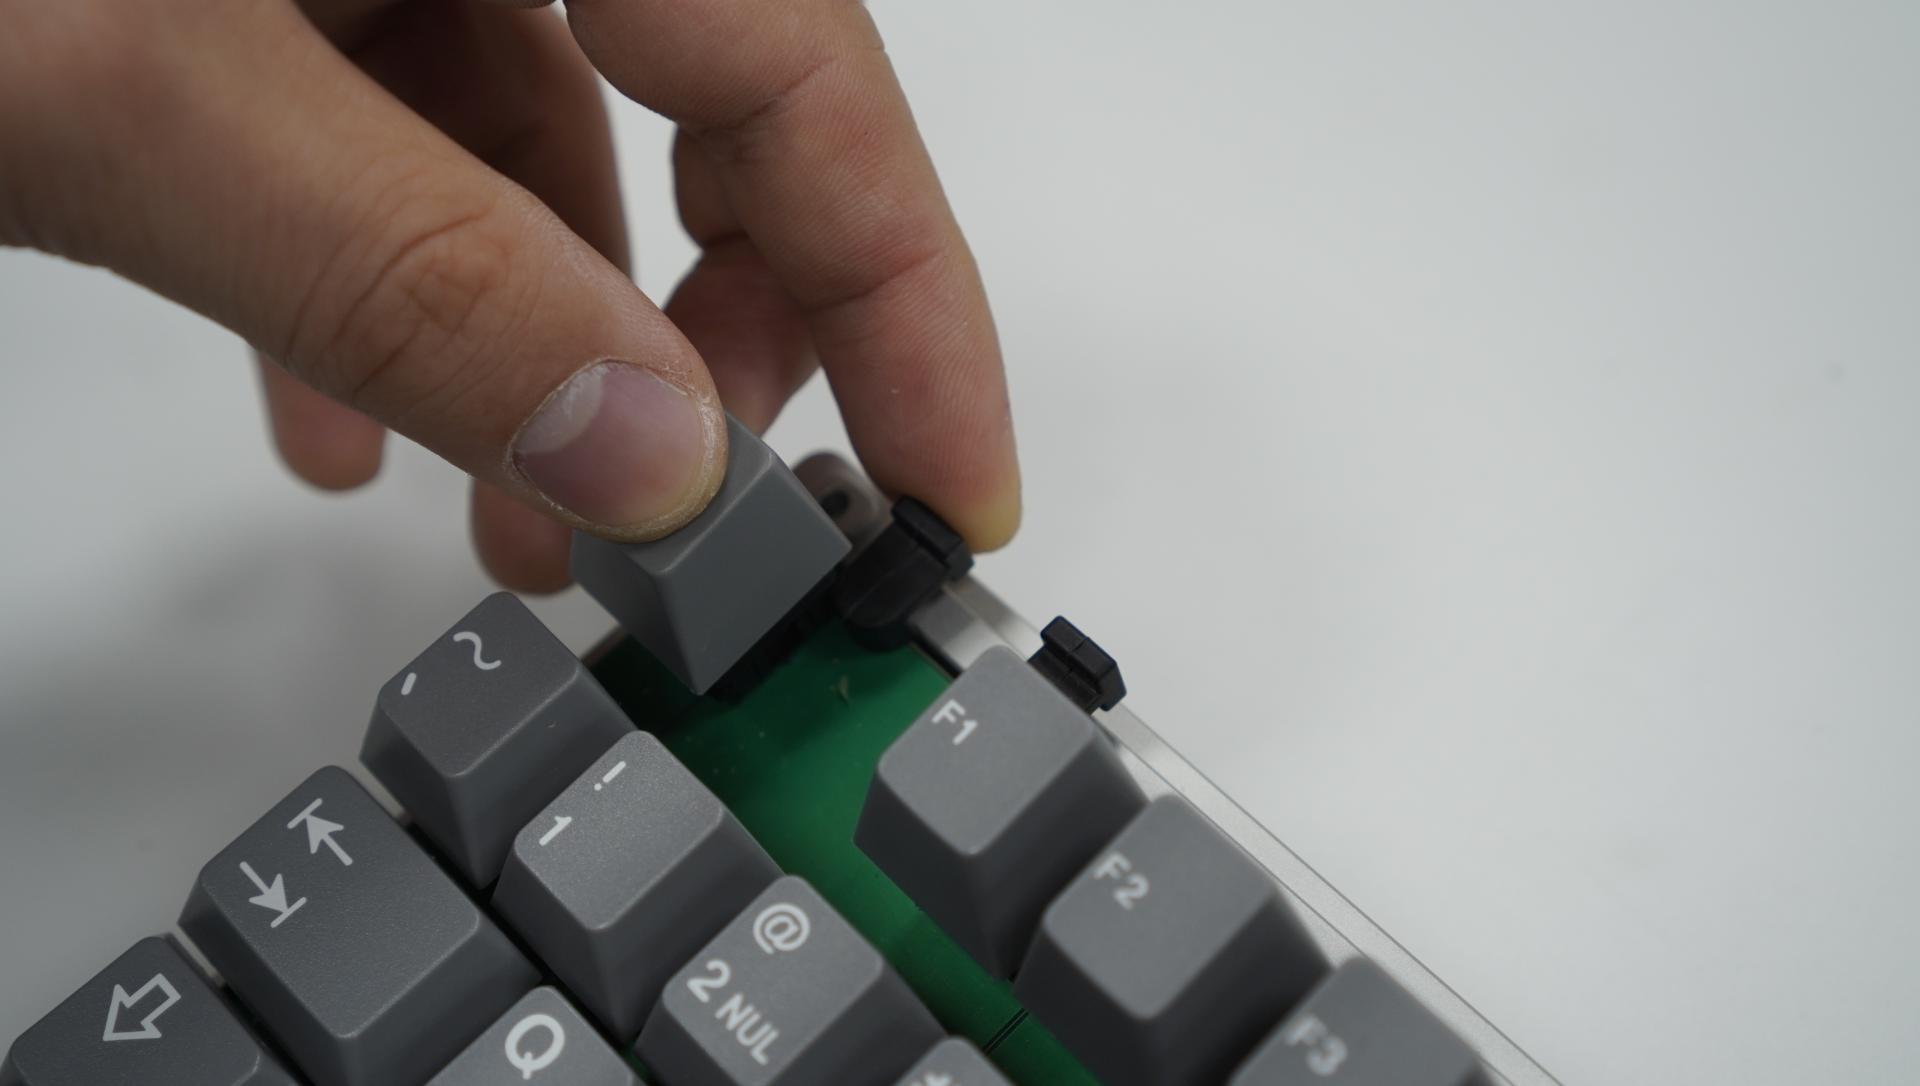
Tip: If you find difficulties with settling the PCB properly, you can use a screwdriver or pen to push it into the PCB more and let the kit slide in better, or simply use your index finger to push the kit closer to the PCB while you pushing the whole kit downwards with your thumb.
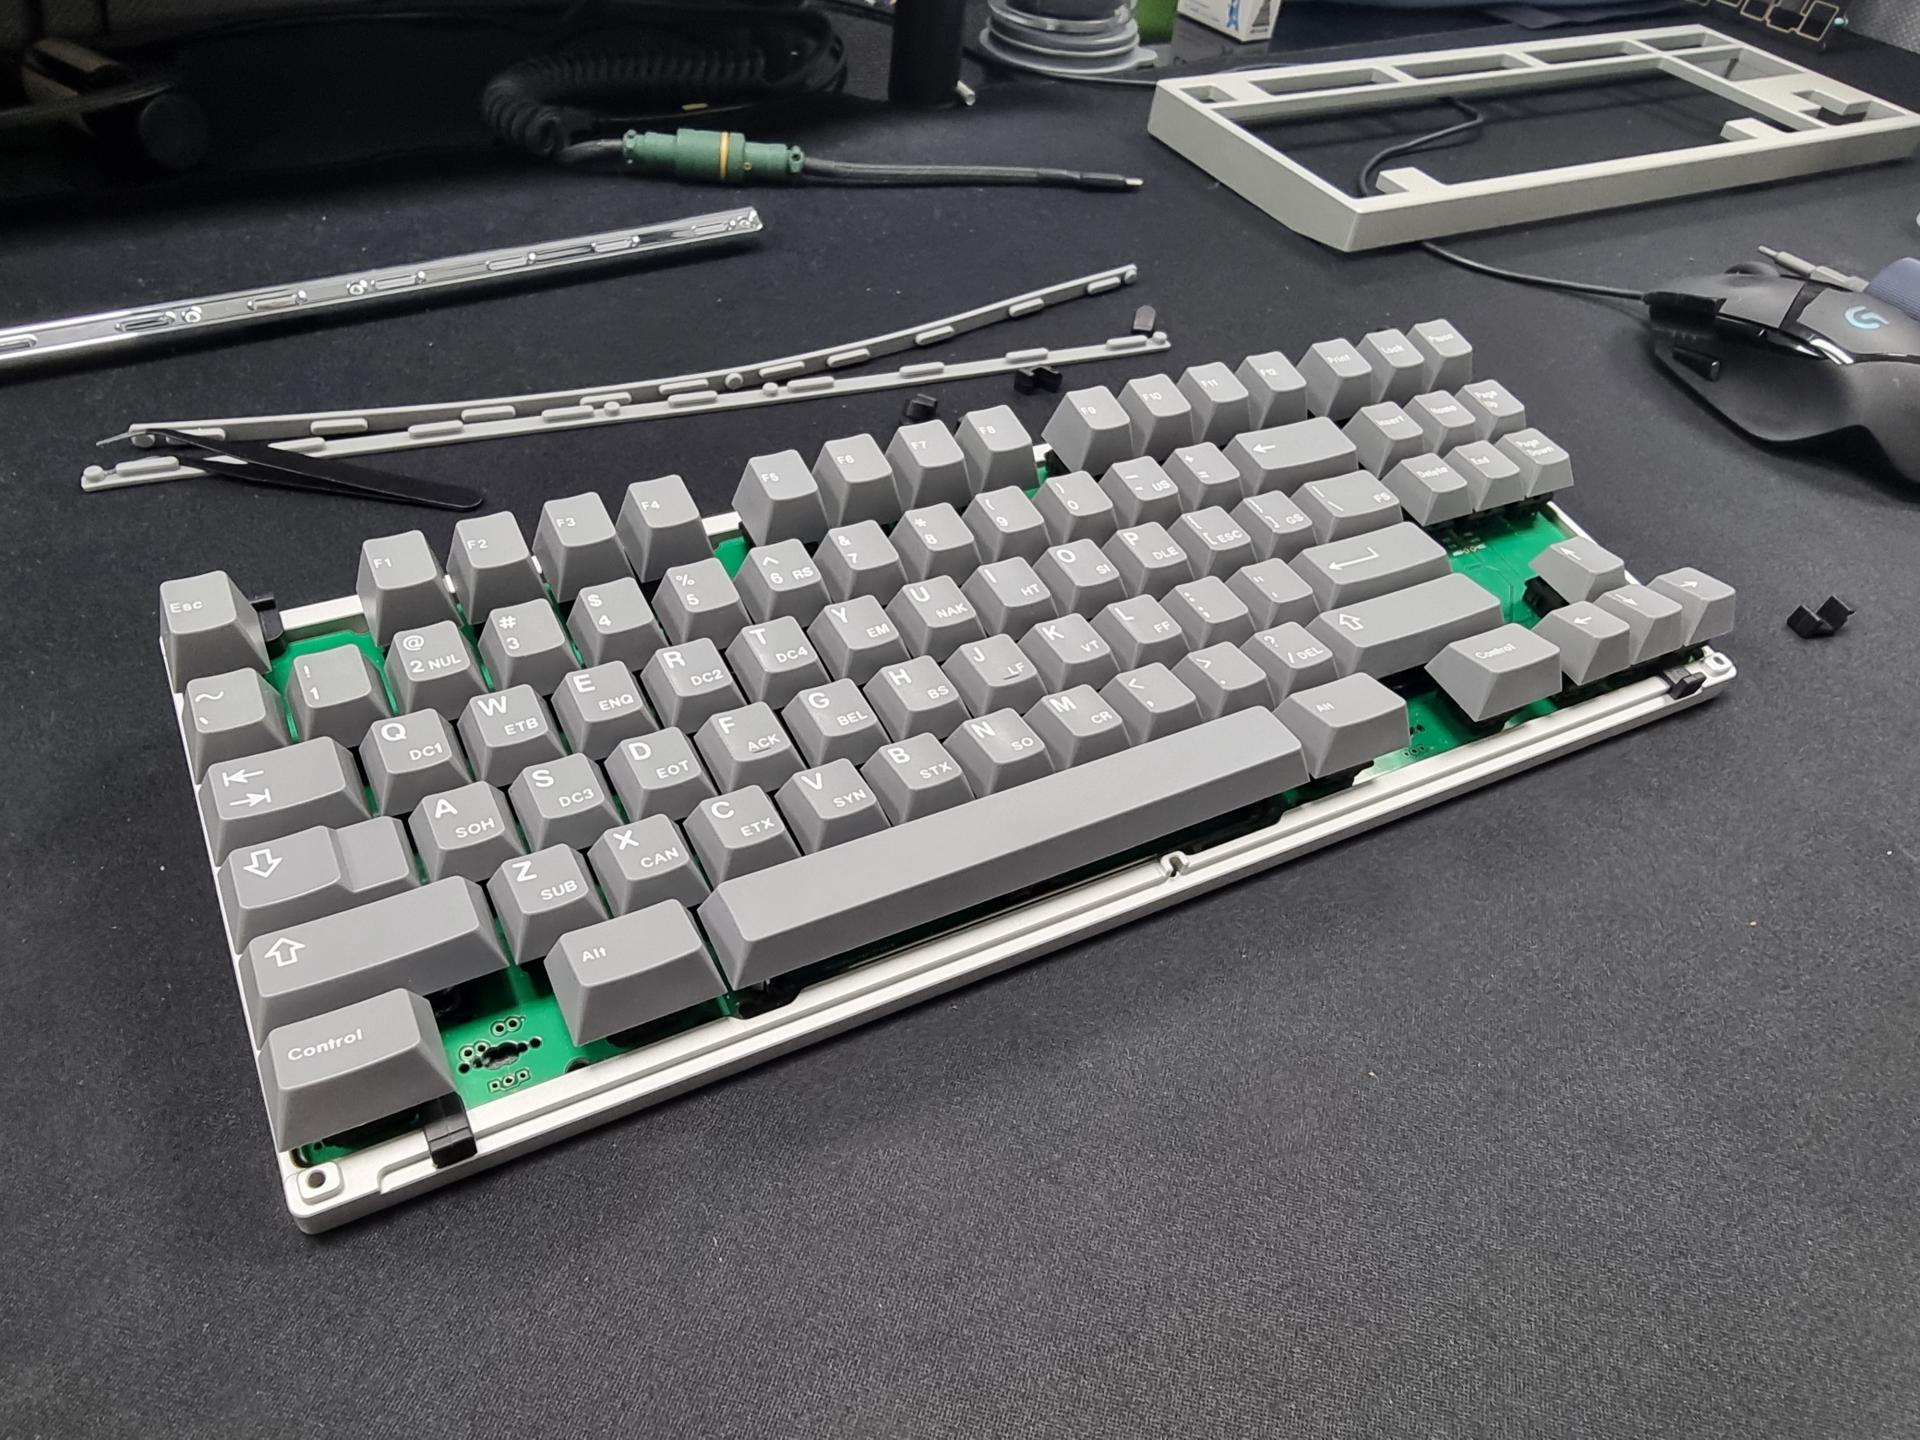
Tip #2: If you do the tape mod, you can use the masking tape over the plastic if you think the kit is getting removed too easily. Also, another method you can do is first install the bottom portion kits, install them down to the case, and while lifting, install the remaining kits on the top portion of your PCB and finish the installation (as shown above).
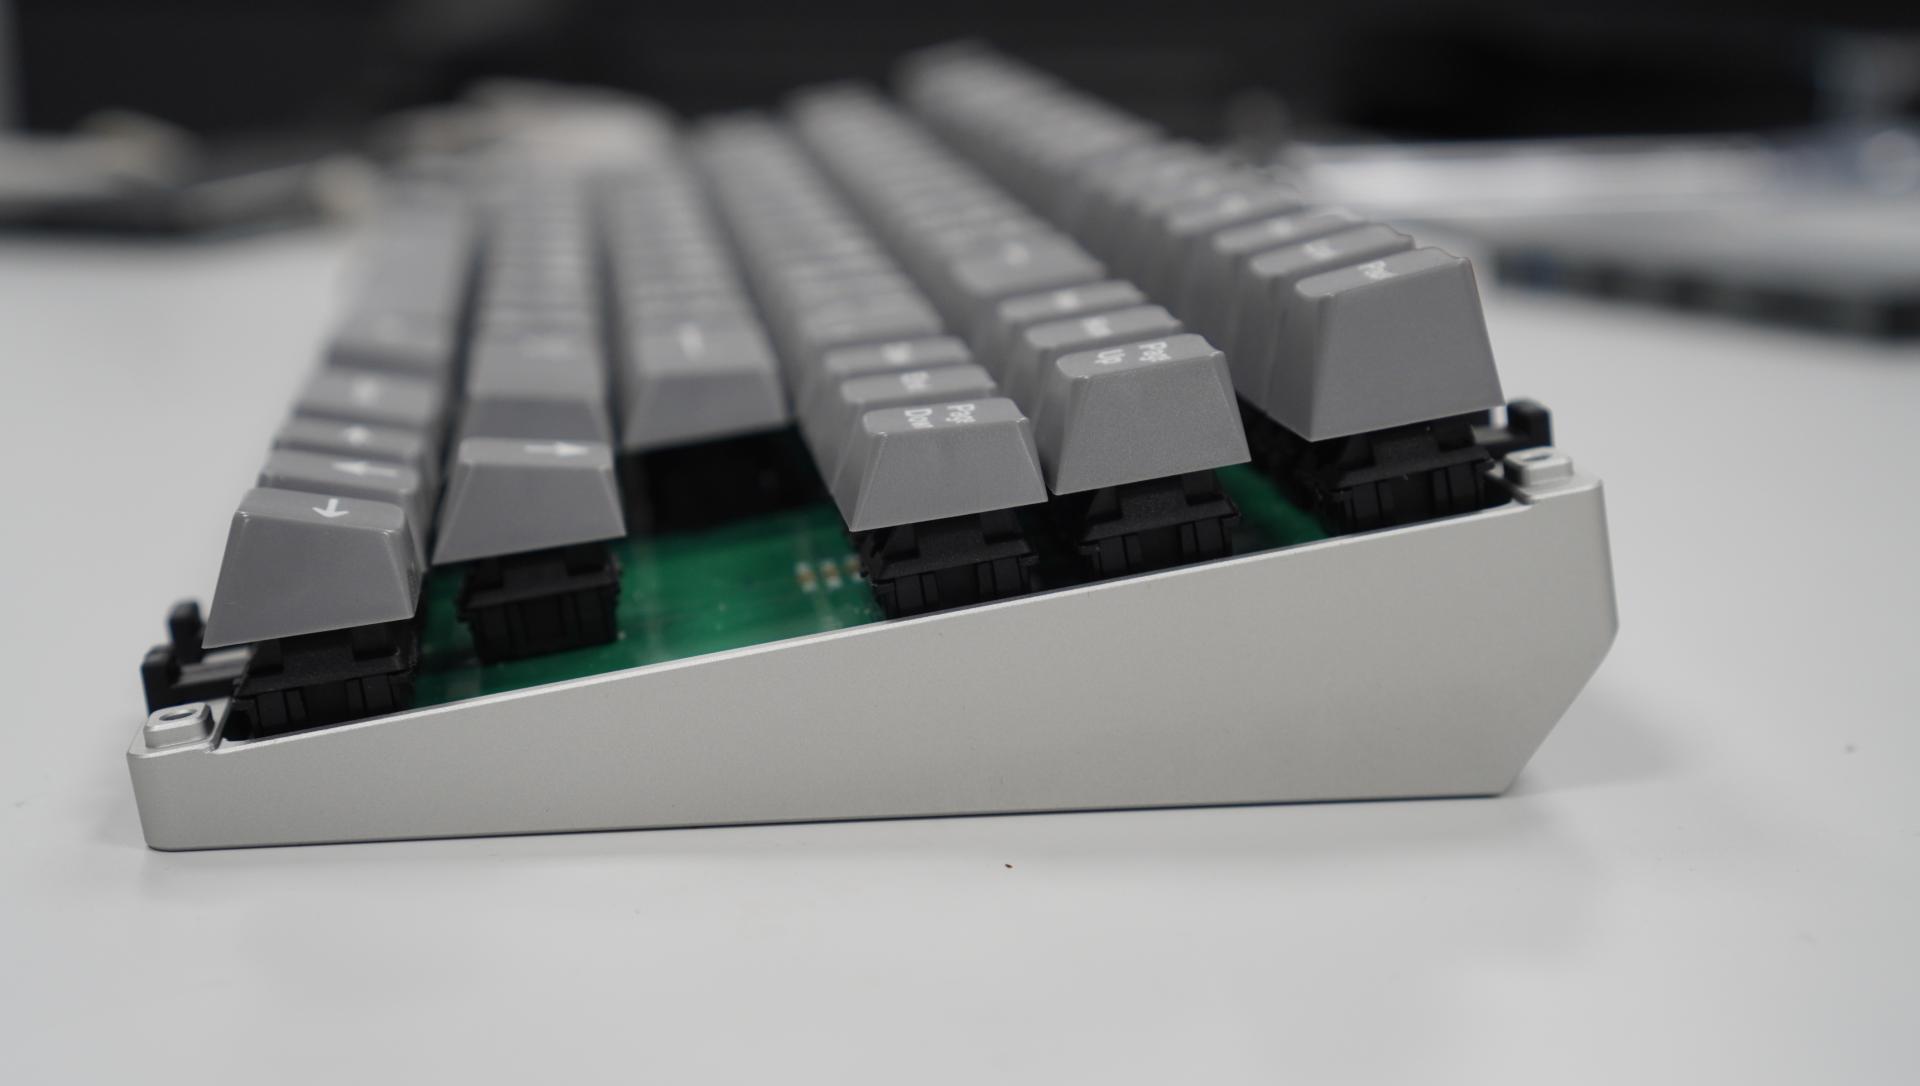
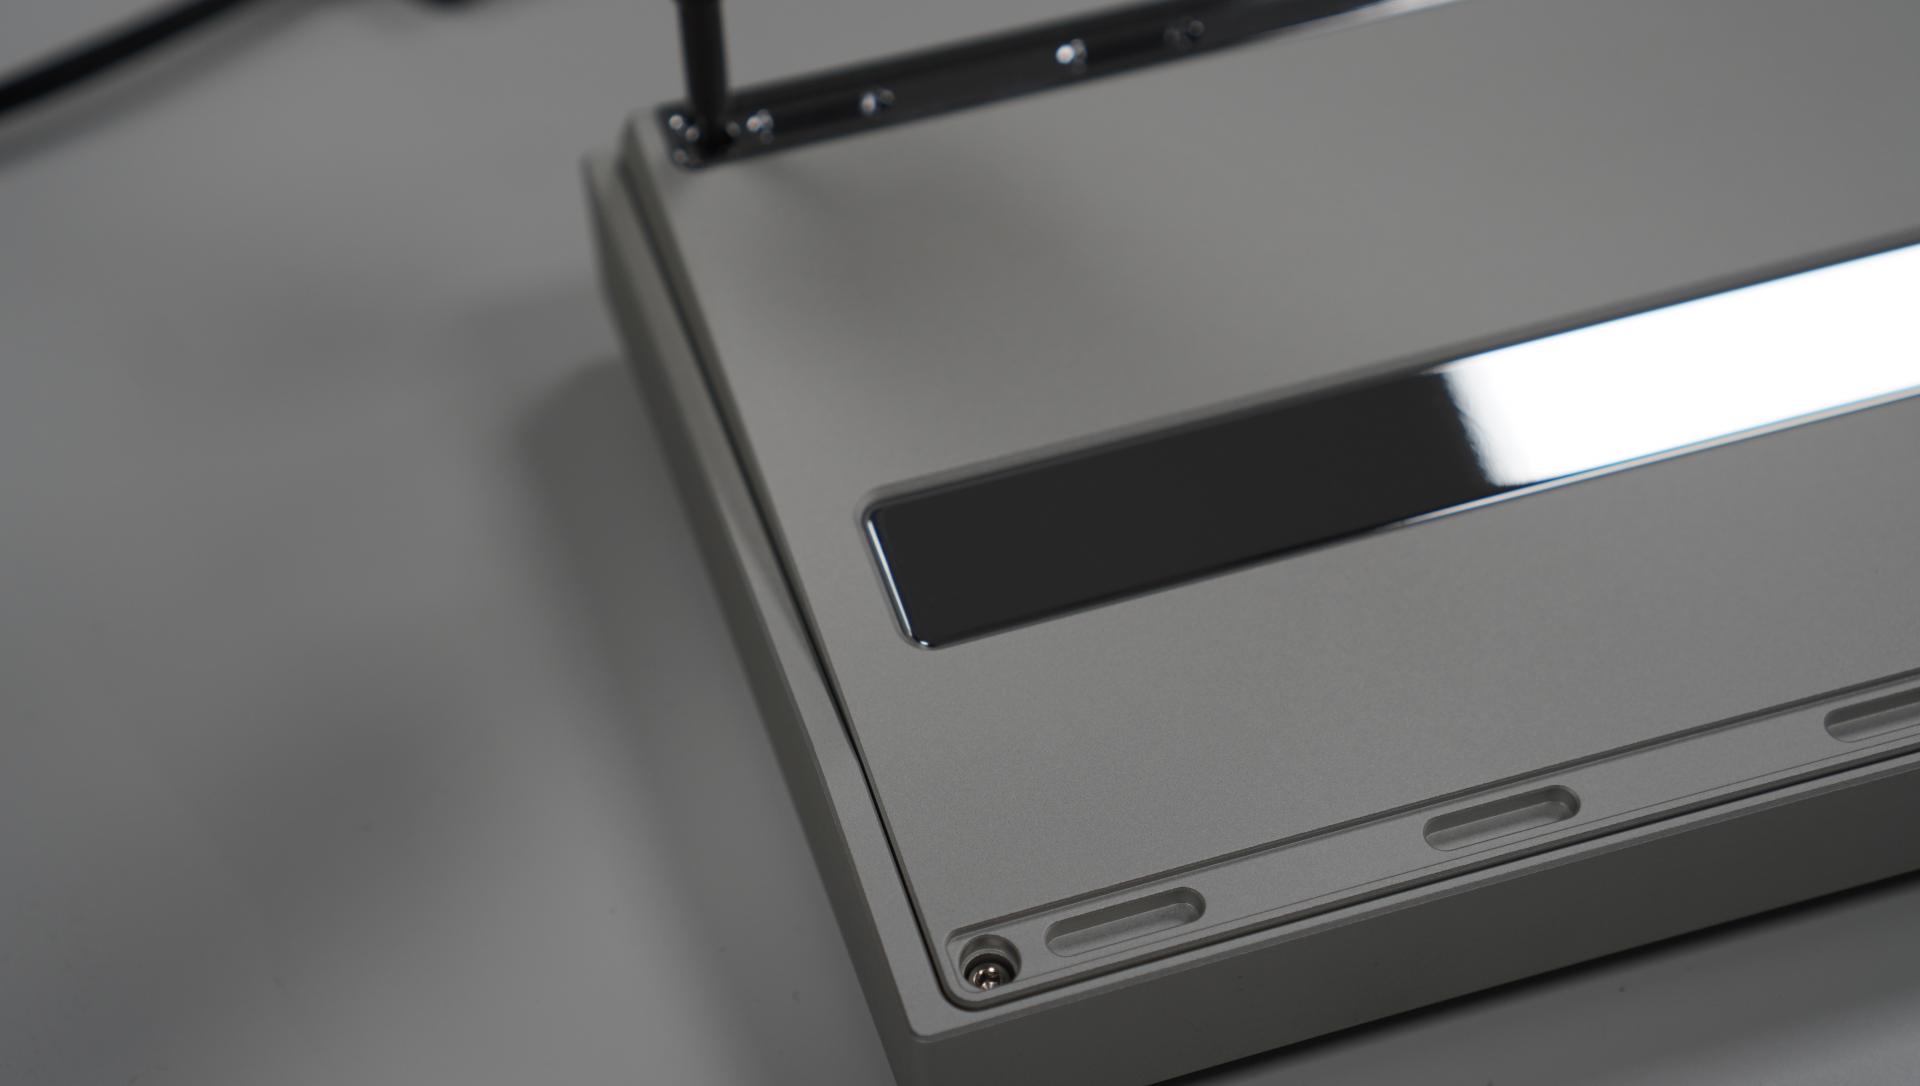
Once you're finished, the PCB should be almost parallel to the case and all the installed plate-less kits should be flush with the bottom case (shown with the image above).
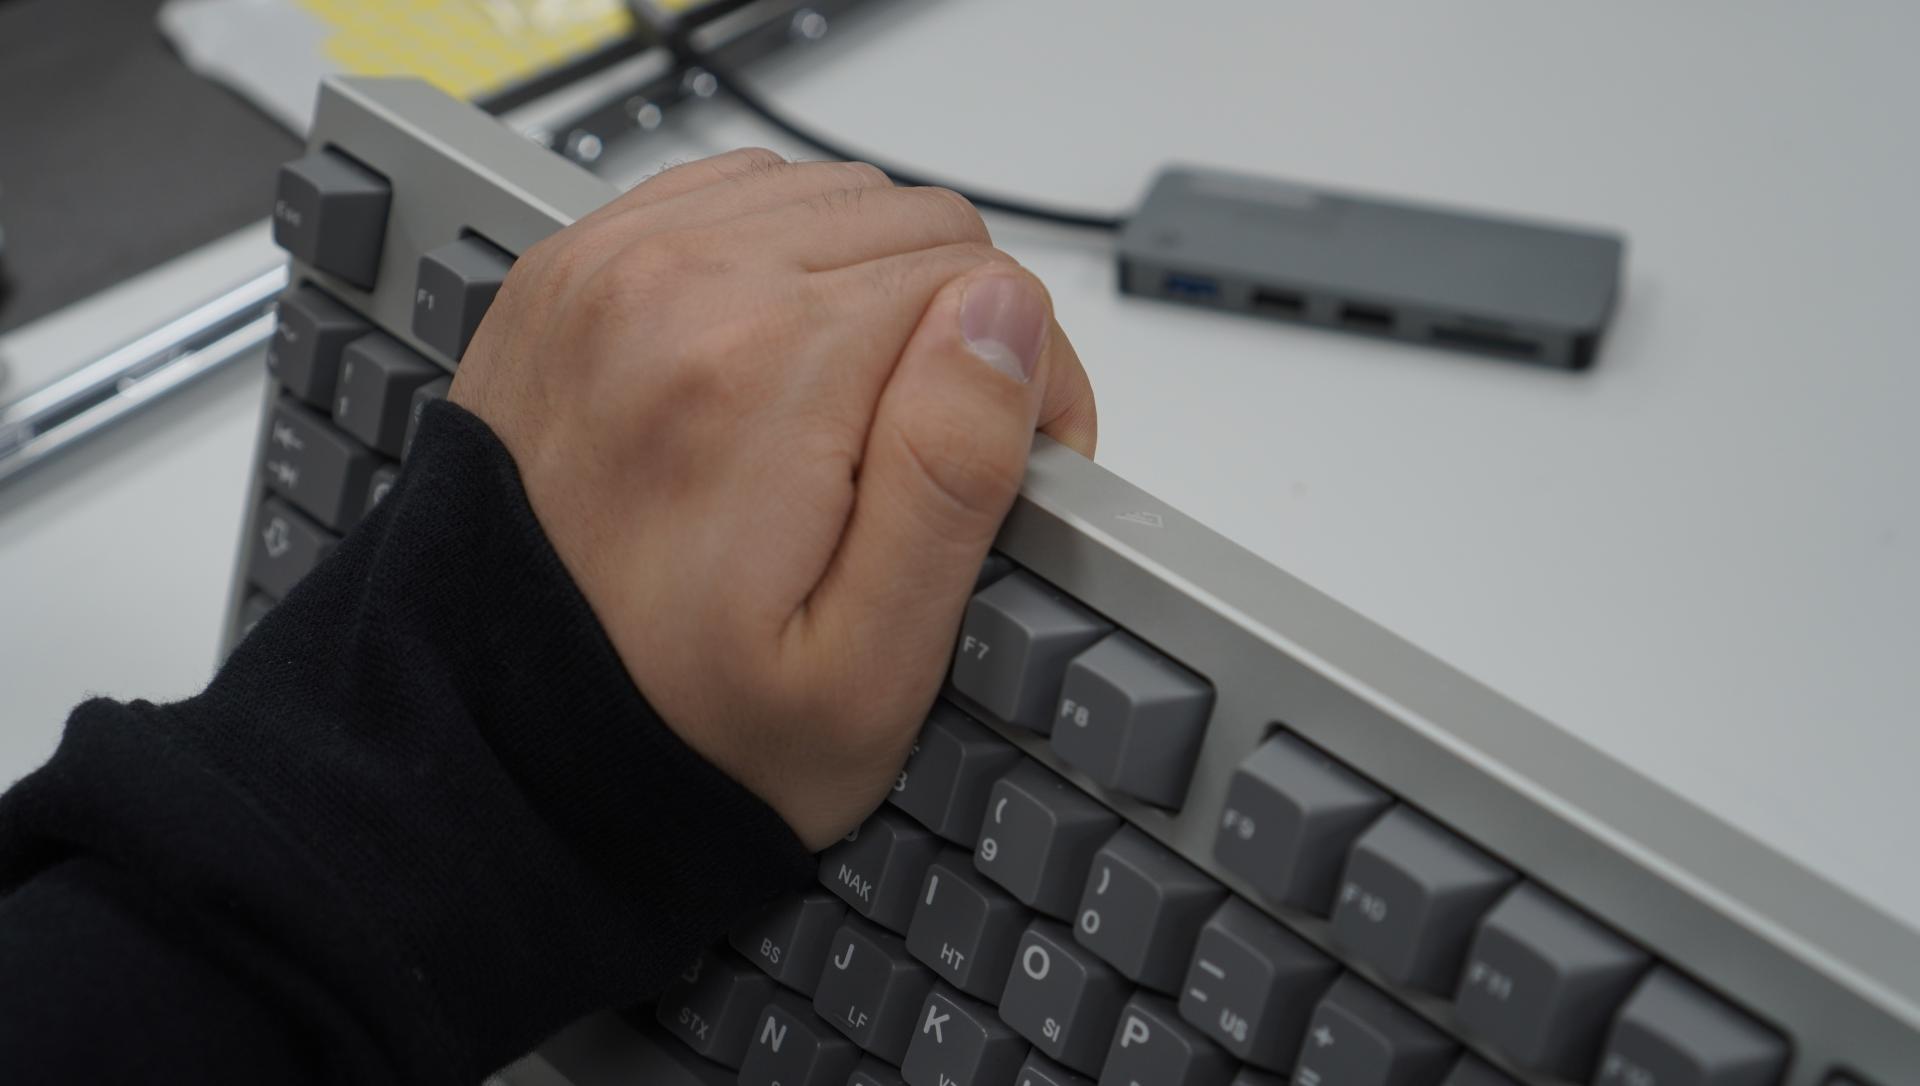
Place your Top case on top. Then grab and hold from where the external weight will be installed and flip the case over upside the, and your keycaps should be facing the ground and the internal weight shown towards you.
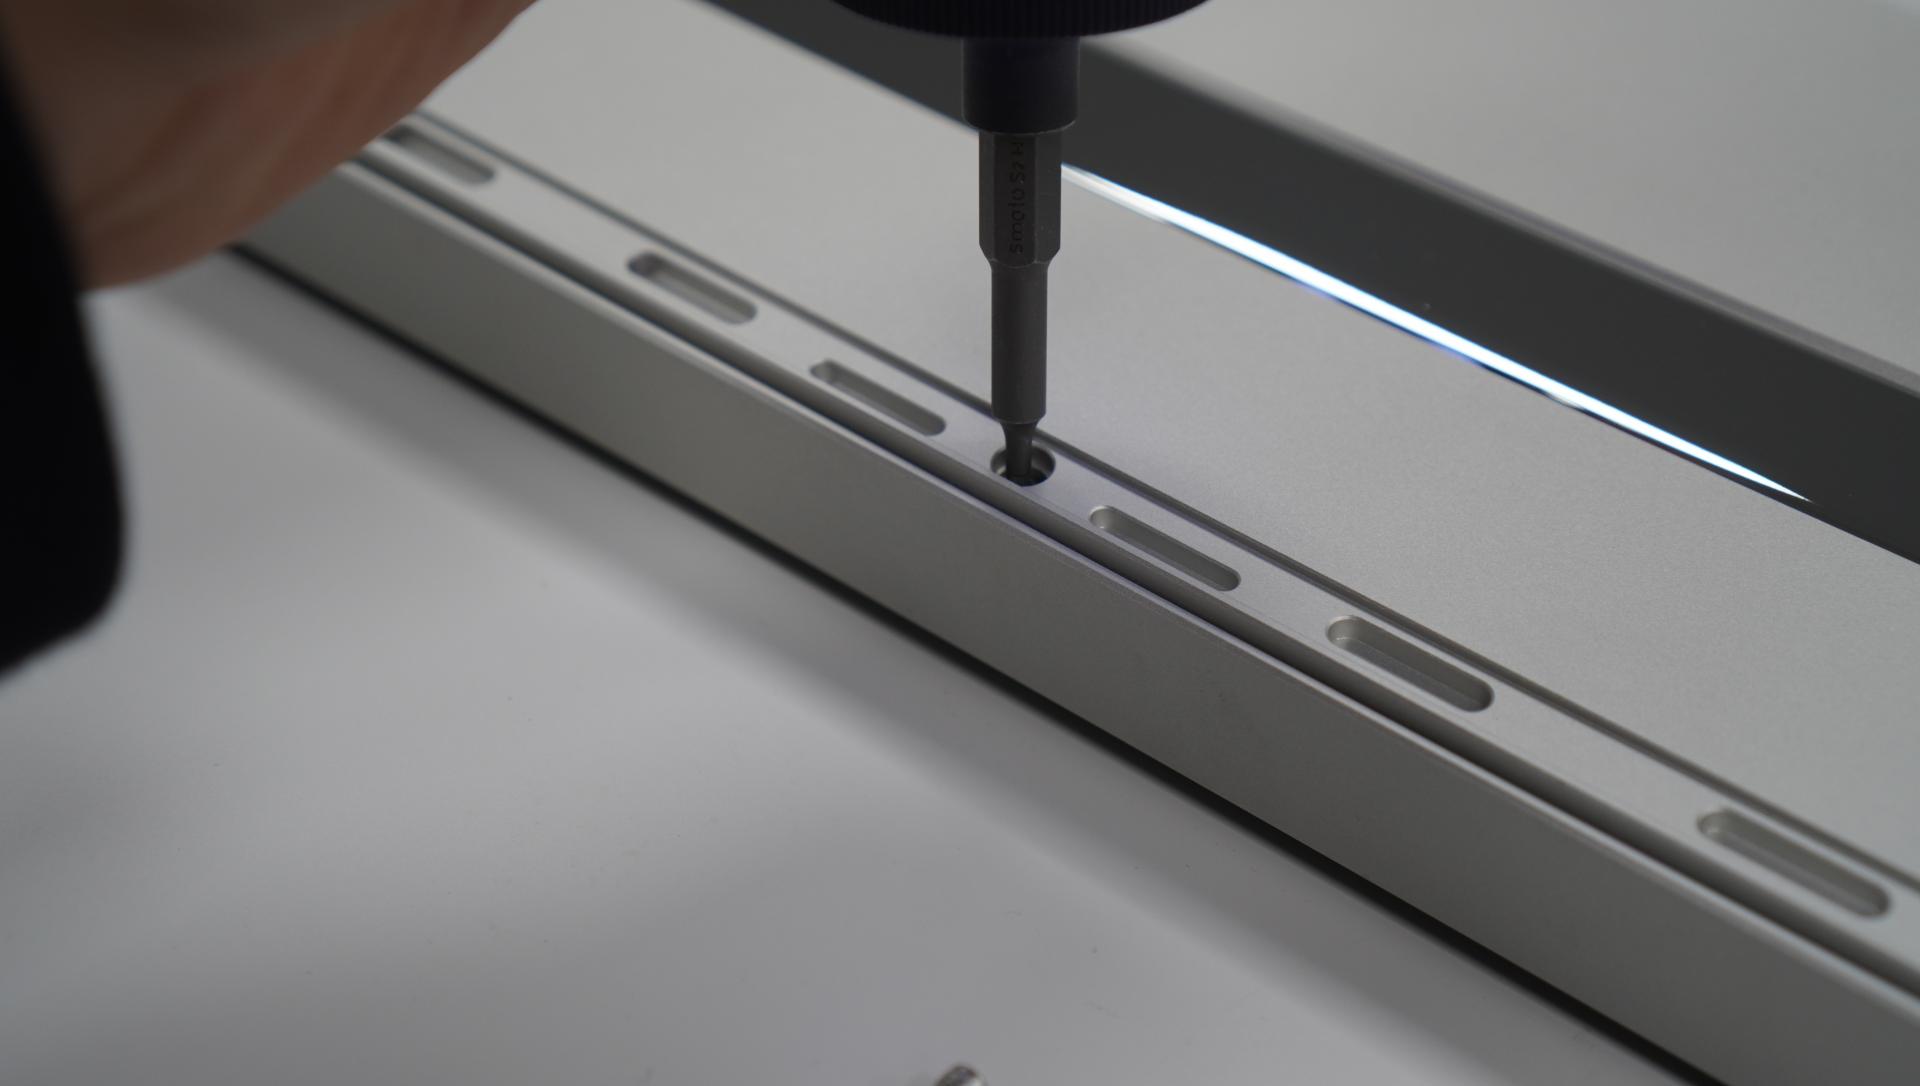
While still in hand, screw down the middle 2 screws first and proceed with installing the rest of the screws.
Now install your external weight, screw it down with 4 screws, install your bump-on's accordingly, and you are finished with your build.